|
12/05/2013 - A little
warmer...by about 1 degree !!!!
Time
to take the wings off now. I made sure I marked the flaps
for filing before painting but that little job is on the back
burner for now. I also finished the holes for the flaps but
did not take a photo, doh! Time to move onto the tail
attachment work. The tail, trim and wings can all be painted
together
Another list
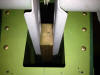
 | Drill
the elevator horn attach point |
| Drill
the elevator to push rod connection point |
| Fit vertical stabiliser
and final drill/ream holes |
| Fit all fibre glass |
| Fit the exterior trim |
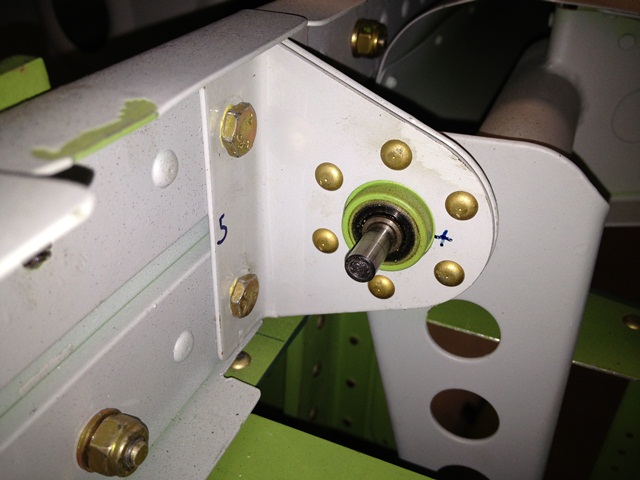
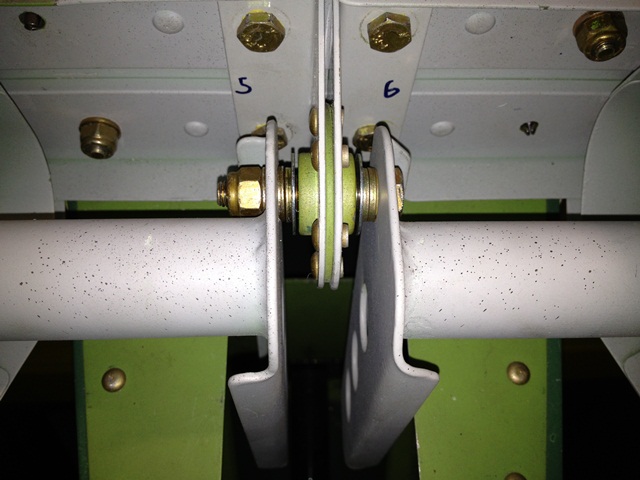
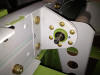
I took the port elevator off
the stabiliser and using my pre-ordered drill bushing I could
drill the first hole. Actually it did not go to well as the
pilot hole was to close to the weldment. I adjusted the
elevator giving a little more gap and now on the edge of
tolerance. Drilling a second pilot hole meant I had to be
just in the right position so when the hole enlarge it would
engulf the original pilot hole. Talk about stress !! Still
after about 2 hours of fiddling it was done and the hole was good.
Same with the second eleevtaor.
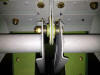
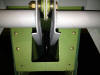
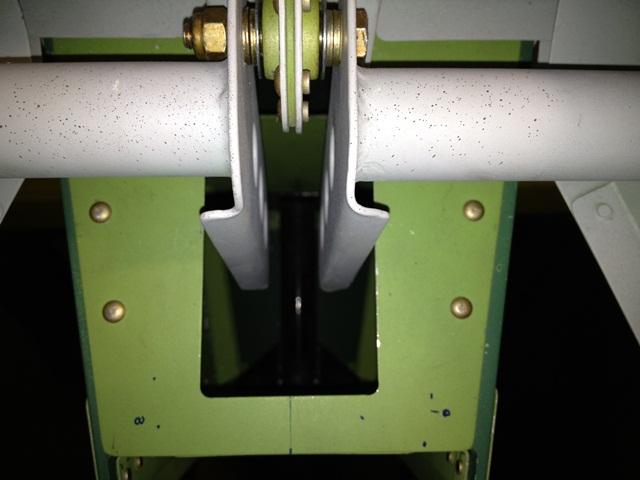
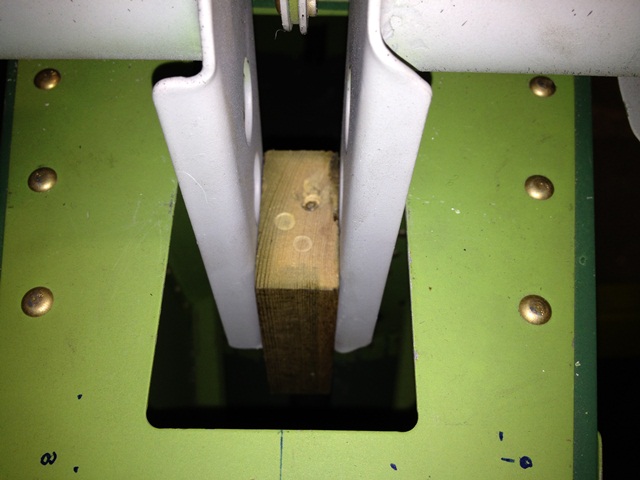
Miraculously this piece of hard wood cut off from
when originally building the empennage fit like a glove which will
keep the drill straight when drilling the push rod attach point on
the elevator horns
 |